In this step of our quickstart tutorial, we will guide you through connecting a data destination, where your data will be loaded to.
If your destination is a dashboarding app, you can simply skip to the creating a data flow step, right away!
Prerequisites
Before getting started, ensure that your account or user has the necessary permissions to create, select, update, insert, and delete data in the destination. For more information, see our destination specific how-to guides.
If your destination is a data storage platform, make sure to whitelist Dataddo IPs to allow incoming connections from Dataddo.
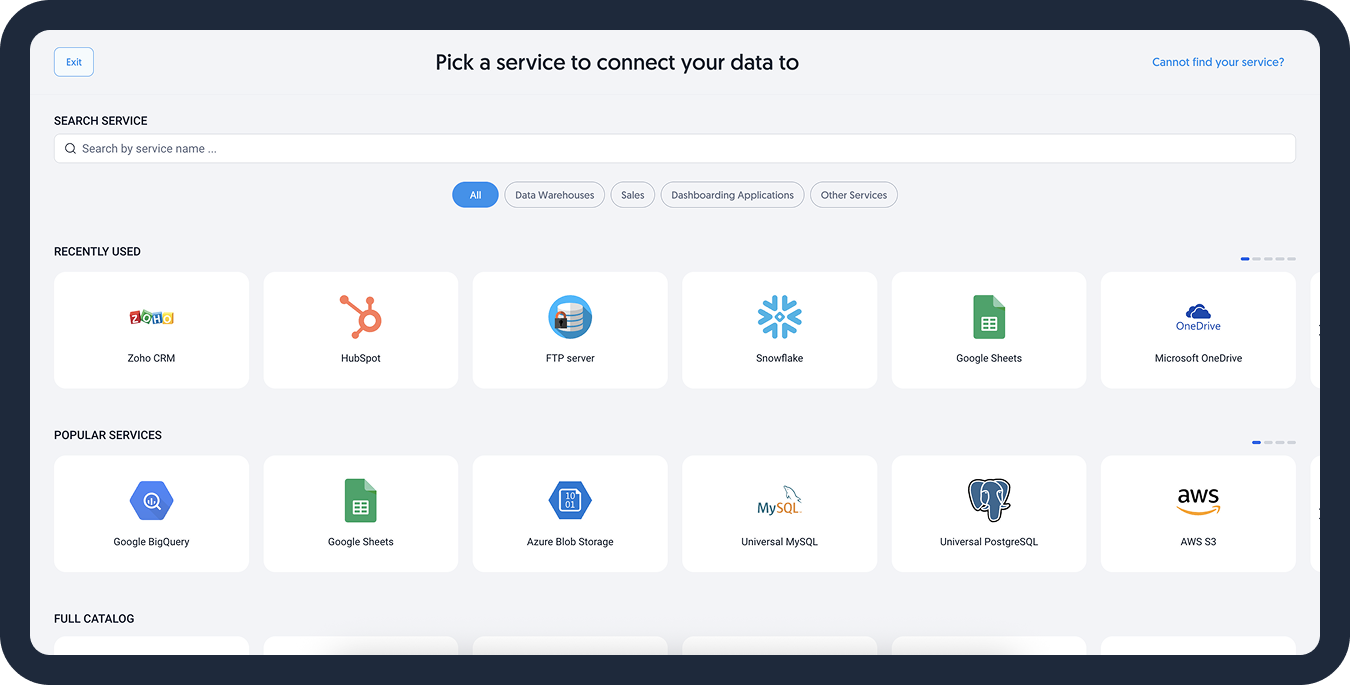
Select Your Destination
On the Destinations page, click Create Destination and select your destination.
Select a data warehouse to send data to or an application for reverse ETL. You can use the category filters or the search bar to quickly find your desired destination.
If you select a dashboarding app, you will be immediately redirected to the creating a data flow step step.
Select an Authorizer
To create a connection between the selected destination and Dataddo, you will need an authorizers. Either choose an existing authorizer or click on the Add New Account button to add a new one.
There are two ways to add a newauthorizer, which depends on the selected service (this applies for both sources and destinations):
- For services that require OAuth authorization (Google BigQuery, Google Sheets, HubSpot as a Destination), follow the on-screen prompts. You will be redirected to the service's page to finish this step.
- For other data storages, fill out all the required fields. In general, you should provide:
hostname,database name,username,password, andport.- For more information, see our destination specific how-to guides.
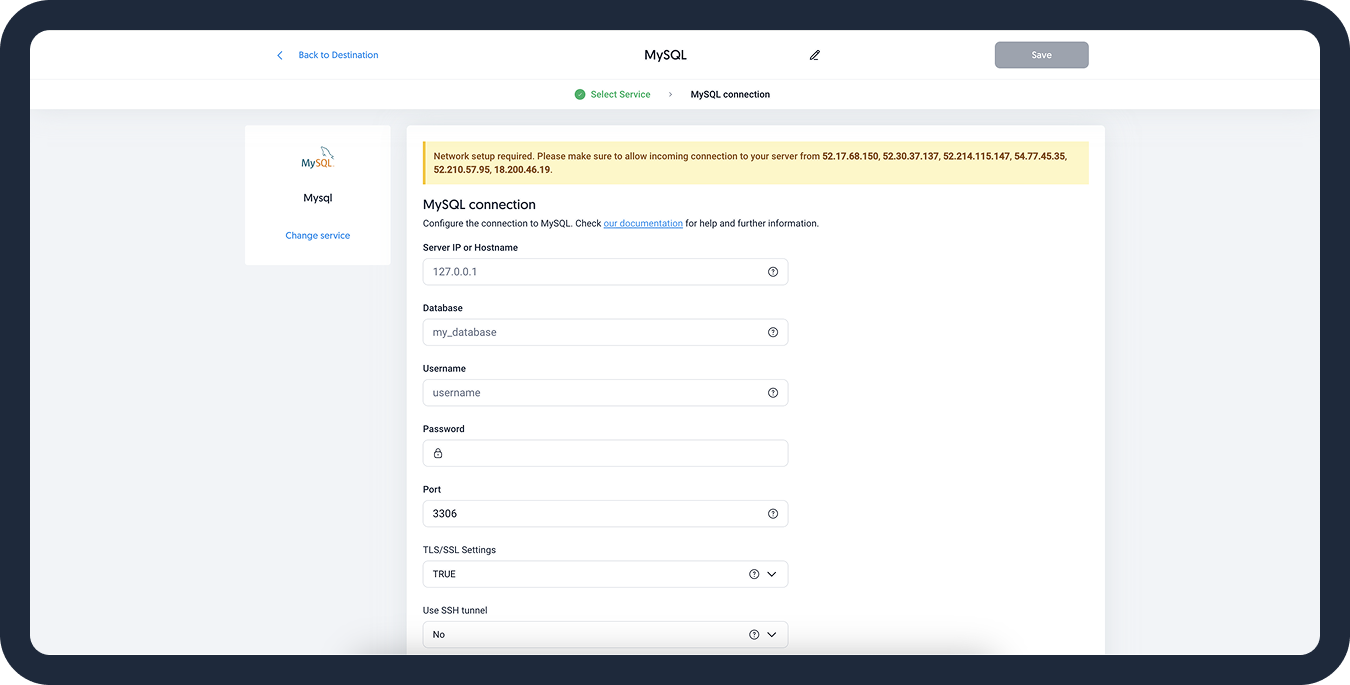
Finally, click Save. Congratulations, your data destination is ready!
Next Step
Now, you can create a data flow to finish the ETL process!