HubSpot as a Destination
- 1 Minute to read
- DarkLight
HubSpot as a Destination
- 1 Minute to read
- DarkLight
Article summary
Did you find this summary helpful?
Thank you for your feedback!
HubSpot is a customer relationship management (CRM) platform that offers a suite of tools for marketing, sales, and customer service teams. It helps businesses attract, engage, and delight customers by providing features like lead management, email marketing, social media management, and analytics.
With Dataddo, eliminate data silos by copying enriched data from a data warehouse into HubSpot for immediate, in-context insights.
How to Connect a New HubSpot Destination
- On the Destinations page, click on the Create Destination button and select the destination from the list.
- Select your authorizer from the drop-down menu and choose which destination object you want to use. If you're missing a destination object, we can add it upon request.Need to authorize a new destination?
Click on Add new Account at the bottom of the drop-down and follow the on-screen prompts. You can also go to the Authorizers tab and click on Add New Service.
- Name your destination, click on Save, and congratulations, your new data destination is ready!
How to Create a New Data Flow
- Navigate to Flows and click on Create Flow.
- Click on Connect Your Data to add your sources. Here, you can blend or union your data.
- Click on Connect Your Data Destination and navigate to the Applications tab to add your destination.
- Select your write mode.
- Choose a unique identifier that will be used in mapping the data to the application.DATADDO TIP
Define mapping columns based on the selected write mode. If you choose to upsert your data, make sure to include at least 1 mapping column that includes your unique ID.
For data insertion, you will be asked to include specific pre-defined fields in order to insert the rest of the data.
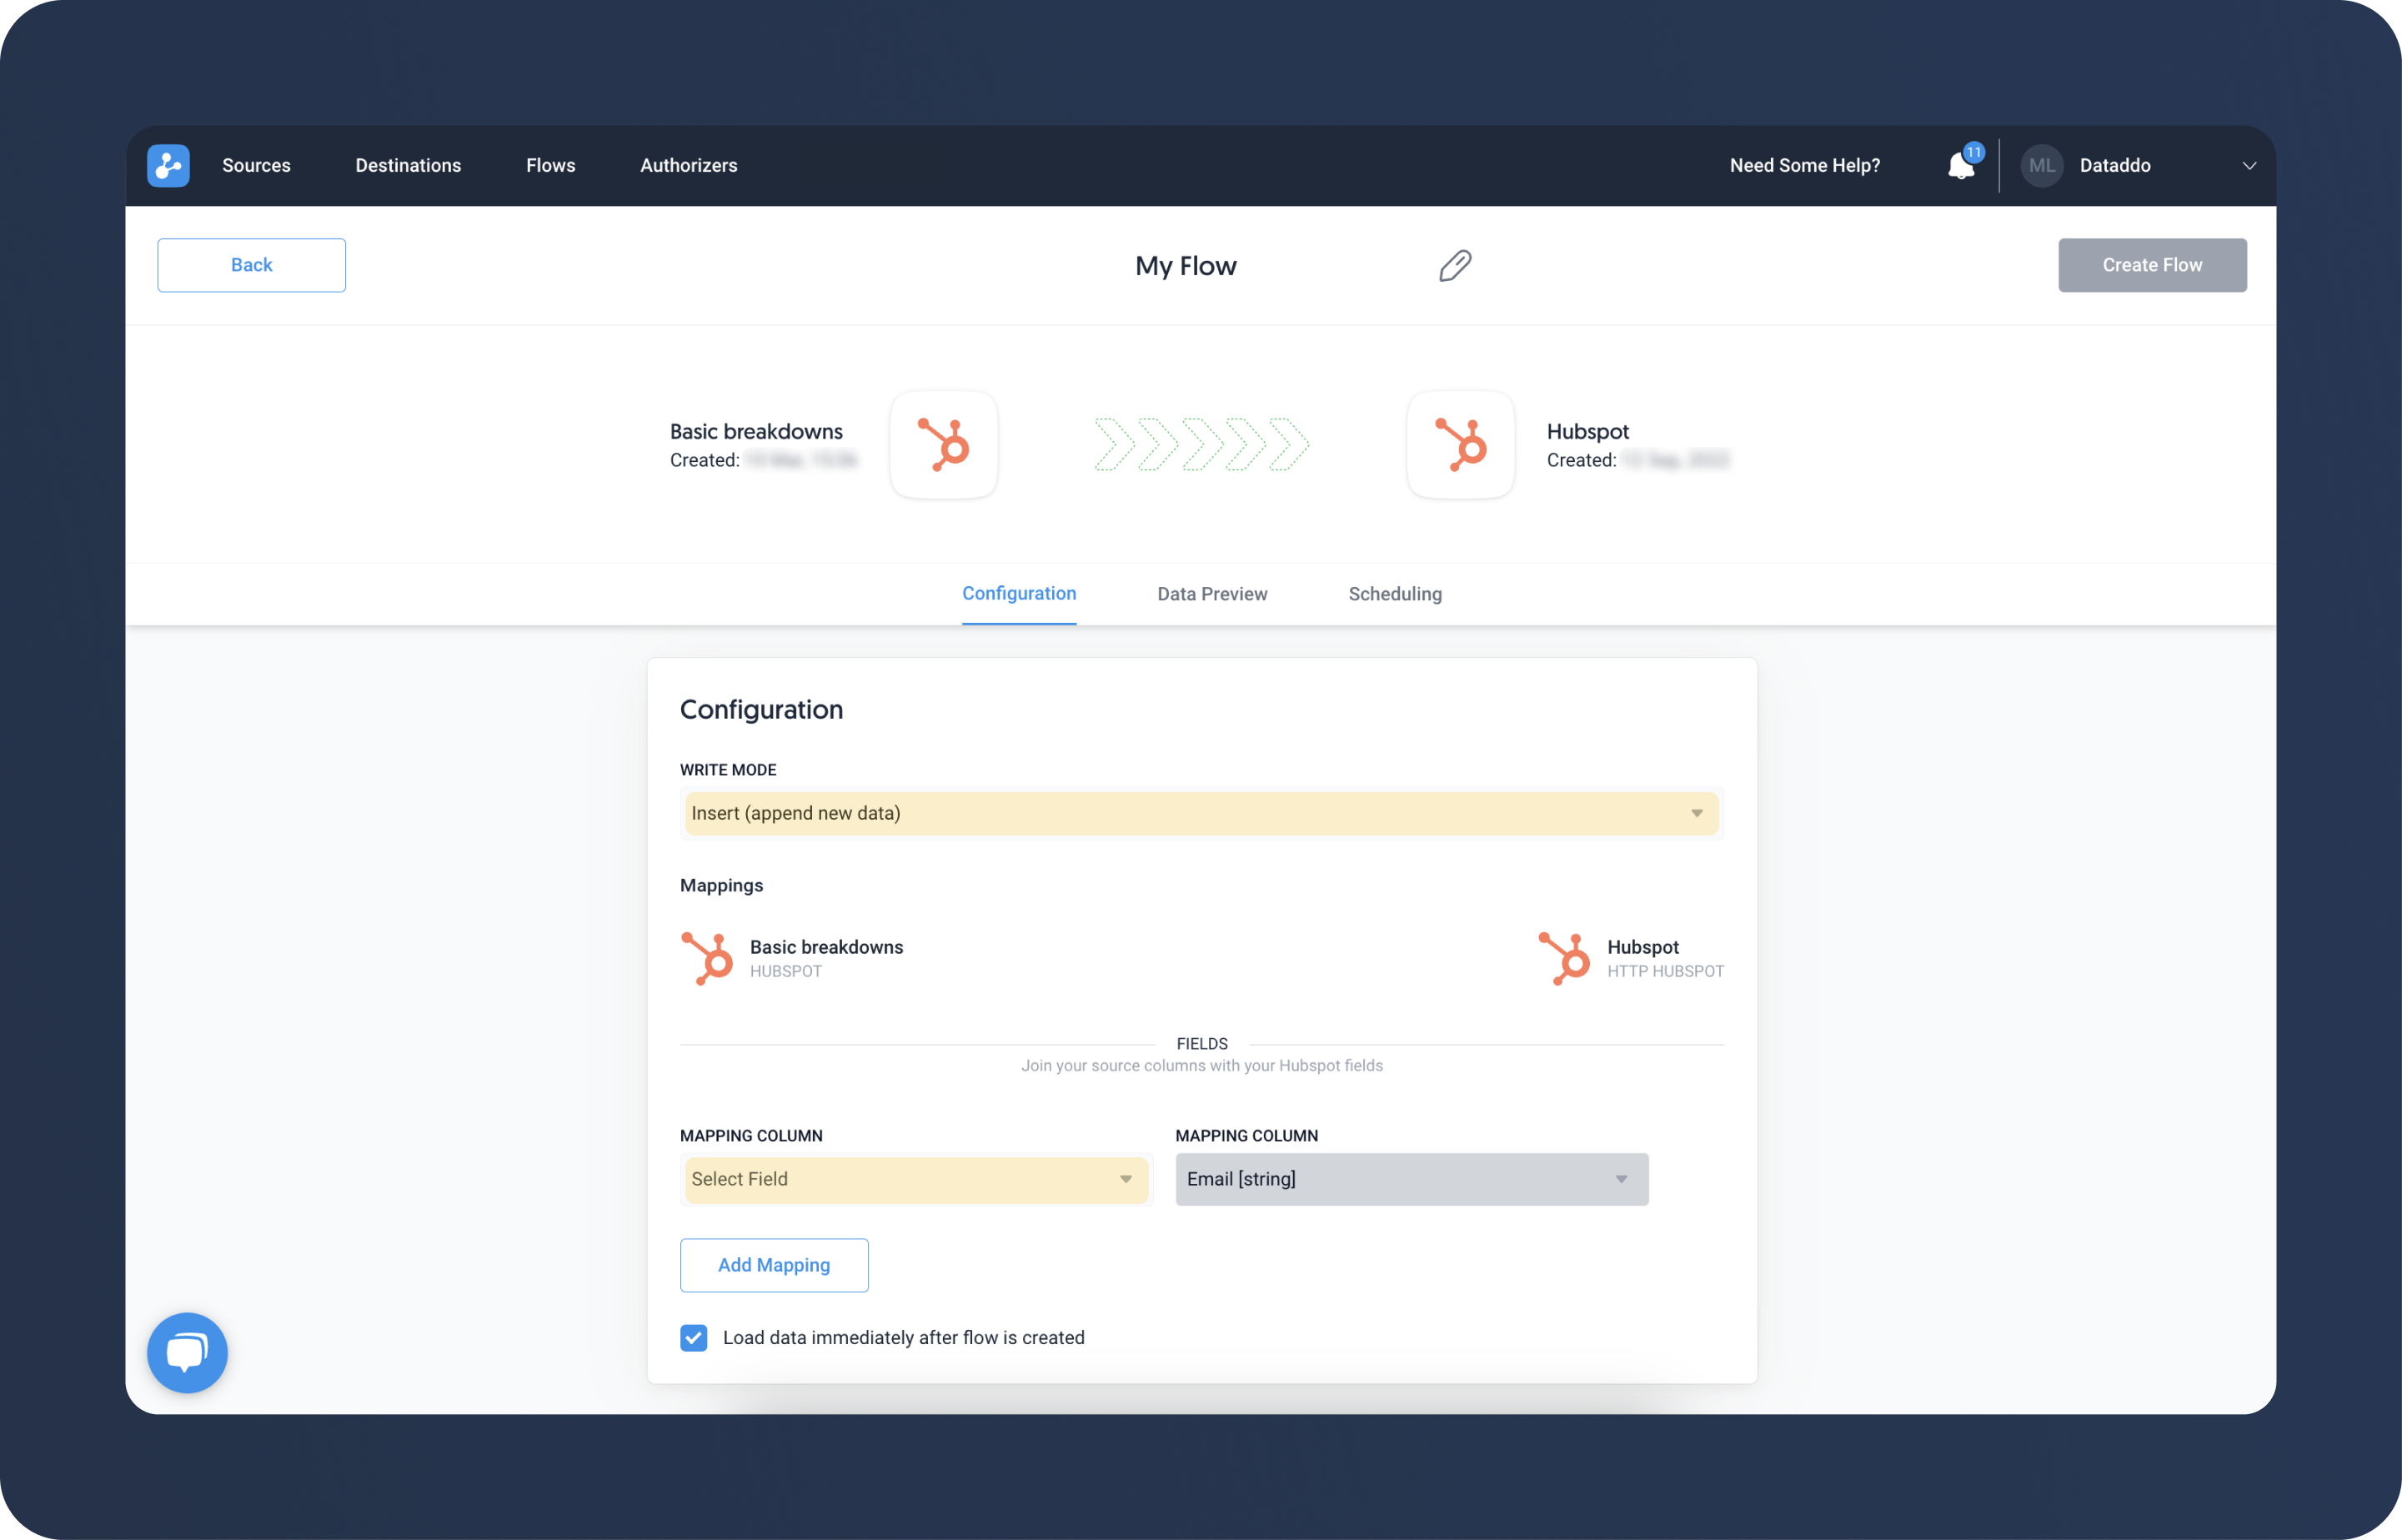
- [Optional] Go to the Scheduling tab to change your sync schedule. If you are unsure about how to proceed, we recommend skipping this step.
- Check the Data Preview to see if your configuration is correct.
- Name your flow and click on Create Flow.
Was this article helpful?