- Tableau Desktop minimum version of 2023.1, and
- the Dataddo connector plug-in.
Tableau is a powerful data visualization and business intelligence software that allows users to create interactive and dynamic dashboards, reports, and charts from various data sources. It simplifies the process of analyzing and presenting data, enabling users to gain valuable insights and make data-driven decisions.
The Dataddo Tableau connector works across all Tableau products including Tableau Desktop, Tableau Server, Tableau Prep, and Tableau Catalog.
The Dataddo Tableau connector is extract-only, it allows you to visualize your data and publish your analysis just like any other data source. However, this means that to refresh data, you either need to do it manually in Tableau Desktop or use Tableau Server.
Tableau Implementation Cheat Sheet
Using Dataddo direct connection to Tableau might not be an optimal solution for all the cases (e.g. when you need to work with large volumes of data with >100K rows per flow or you need to perform complex SQL transformations). Check the table below to find the optimal implementation for your specific case.
| Use case | Solution |
|---|---|
| Personal Dashboard | Use Dataddo Connector Plug-in |
| Shared Dashboard | Use Dataddo Connector Plug-in and configure Tableau Server |
| Shared Dashboard with complex or large data. E.g. Complex SQL transformations needed or more than 100K rows per table | First use a database such as BigQuery or Postgres as your flow destination (each flow will represent a single DB table). Then use Tableau native connection to connect to the chosen database. |
Create a New Flow to Tableau in Dataddo
- Navigate to Flows and click on Create Flow.
- Click on Connect Your Data to add your sources. Here, you can blend or union your data.
- Click on Connect Your Data Destination and navigate to the Dashboarding Apps tab to add your destination.
- Check the Data Preview to see if your data is correct.
- Name your flow and click on Create Flow.
A window with configuration details will pop up. Follow the instructions to finish the setup in your dashboarding app.
If you need to revisit the configuration details, simply go to the Flows tab and click on the power outlet icon.
Configure Tableau Desktop
Install the Dataddo Connector Plug-in
- Check if your Tableau version is at least 2023.1. If not, please update it.
- Download Dataddo Connector Plugin file.
- Save the file to
- For Mac: ~/Documents/My Tableau Repository/Connectors
- For Windows: C:\Users[Windows User]\Documents\My Tableau Repository\Connectors.
- Restart your Tableau Desktop.
Connect Your Data to Tableau
After the initiation, you should be able to find Dataddo by Dataddo on the left-hand side under Connect to a server, under More.
After saving your flow in Dataddo, a window with configuration details will appear. There, you will find the Dataddo API Key.
- Open your Tableau Desktop and click on the Dataddo by Dataddo connector on the left side.
- Insert your Dataddo API Token/Key and click on Connect.
- All your data flows to Tableau will be automatically loaded.
Publish Data to Tableau Server
Configure the Tableau Server
In order to enable publishing the data to Tableau Server you have to first install the Dataddo Connector Plugin to your Tableau server. Please follow these steps:
- Download Dataddo Connector Plugin file.
- Save the file to
- Windows Server: C:\Program Files\Tableau\Connectors
- Linux: /opt/tableau/connectors
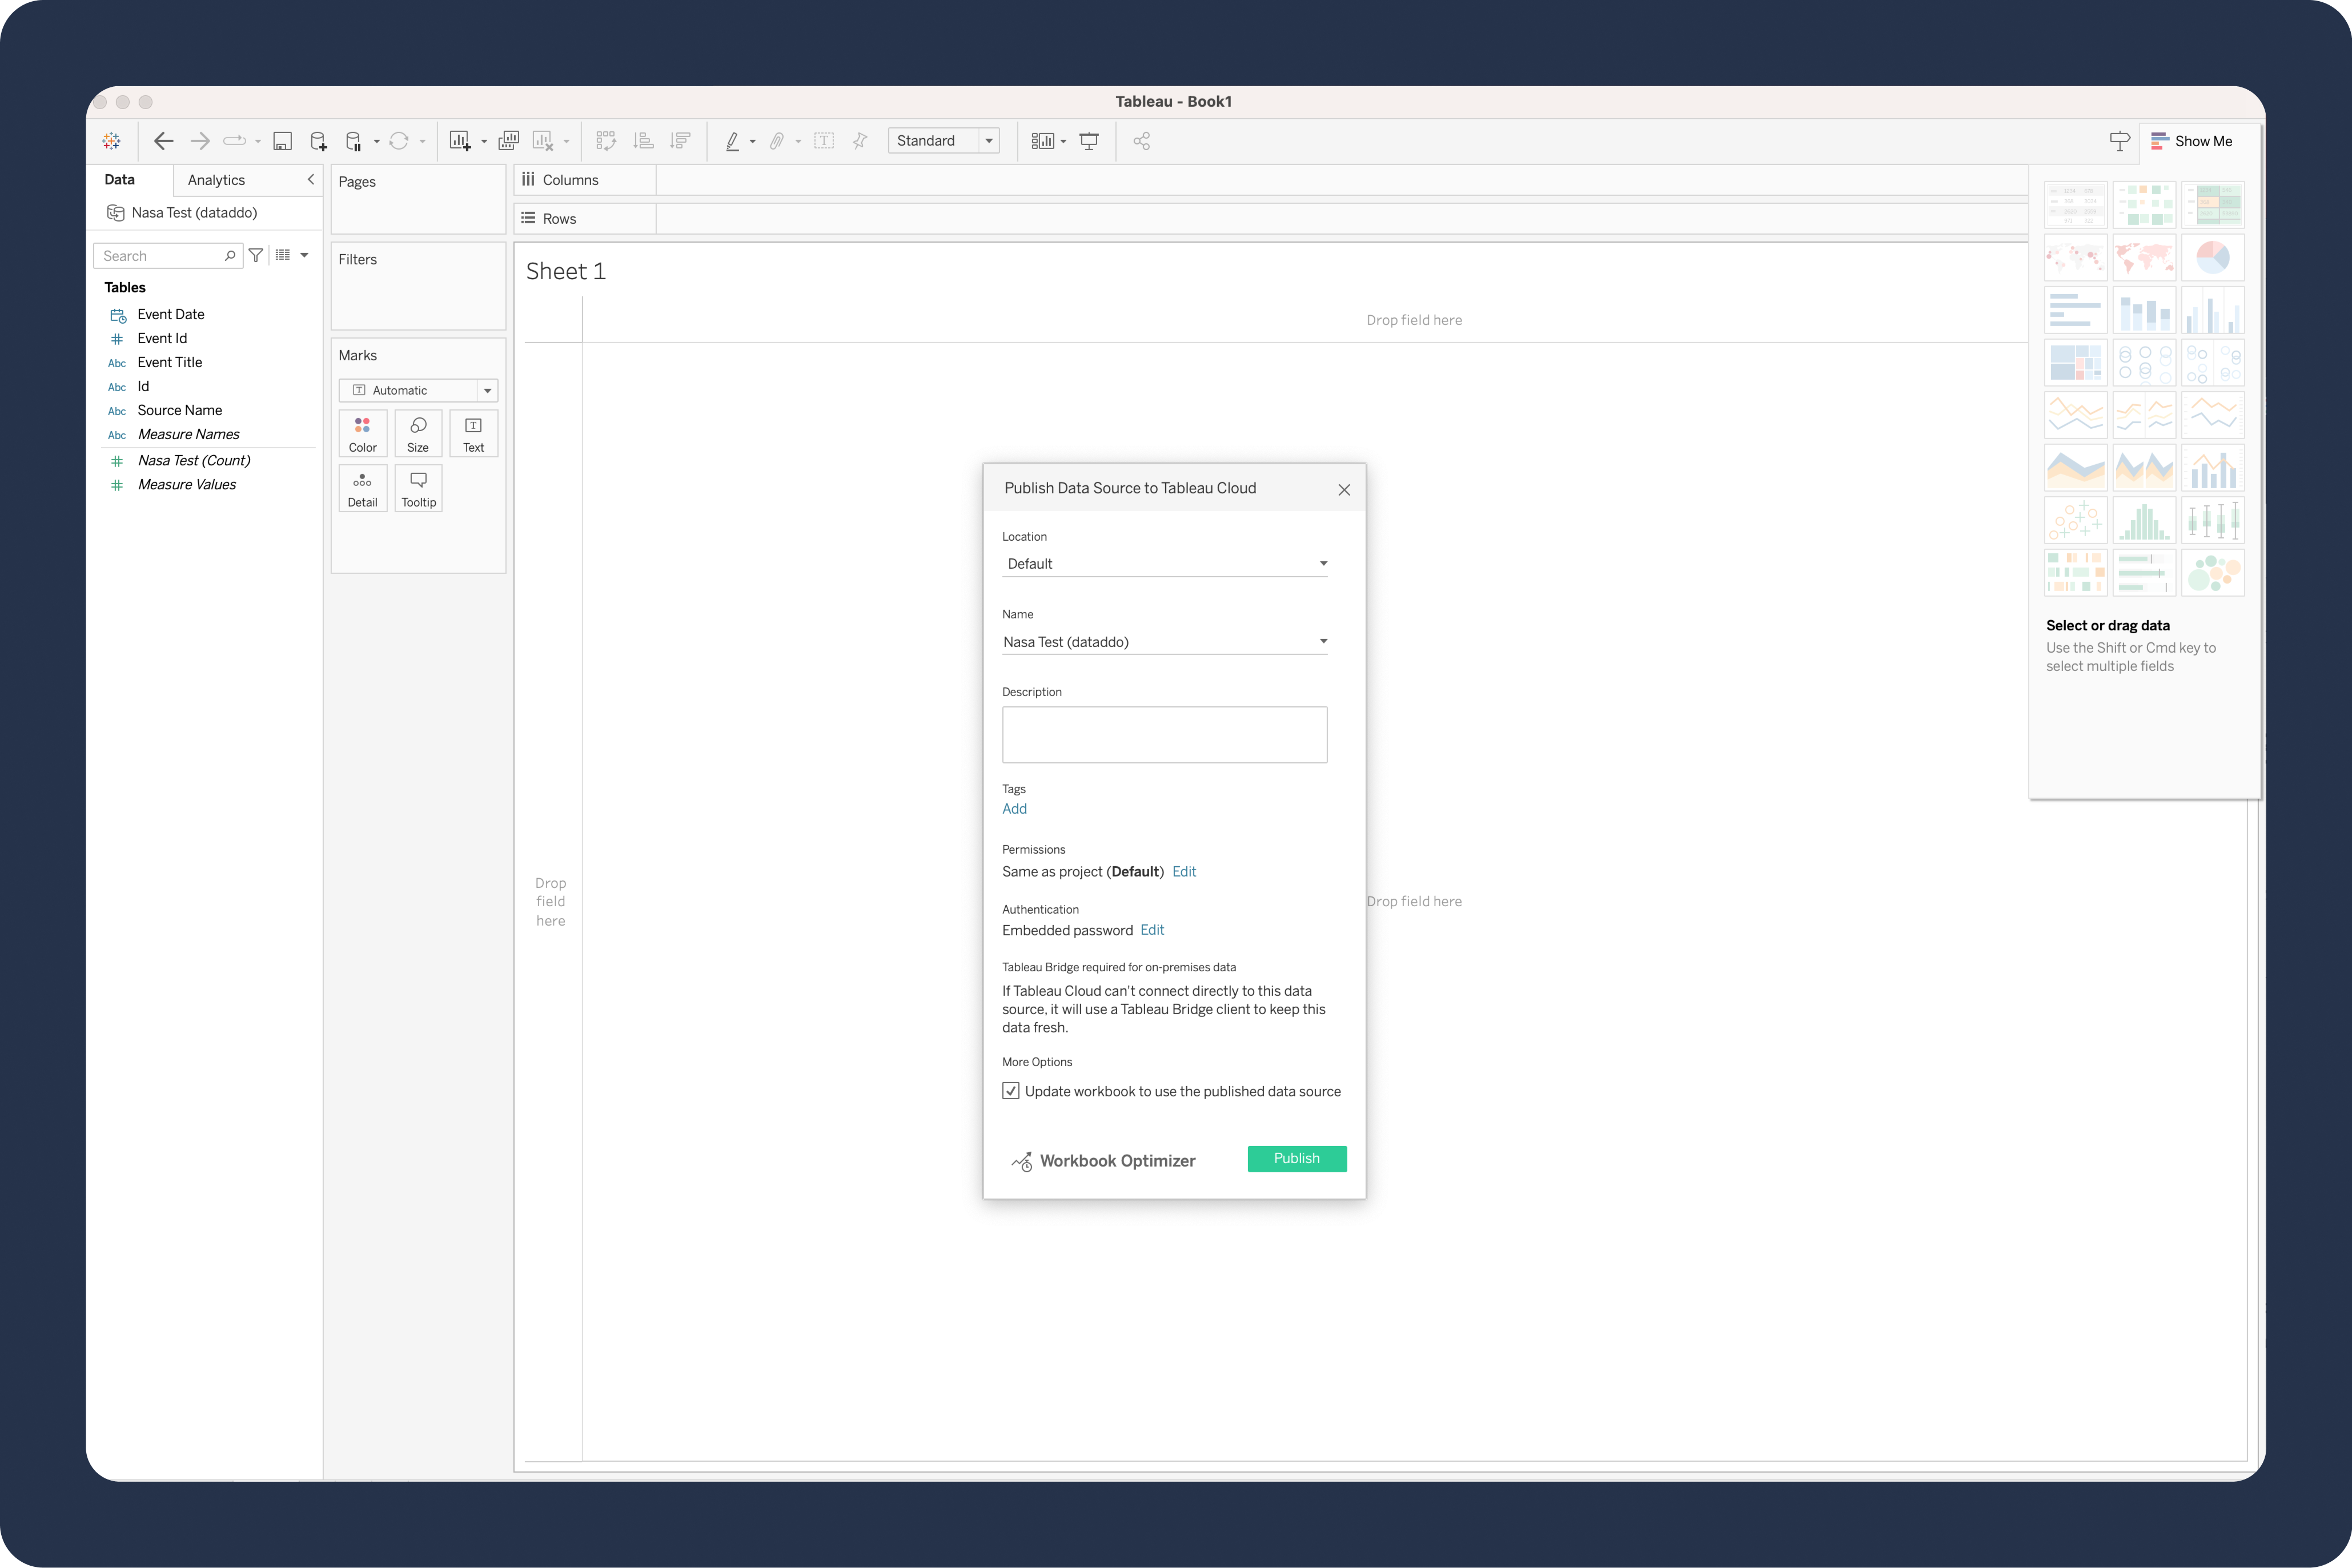
Publish the Source to Tableau Server
- In the Tableau Desktop, click on the Server tab and enter your Tableau Server URL and credentials.
- Select Publish Data Source.
- Change the authentication from None to Embedded password and click on Publish.
Limitations
Number of Data Records
When sending your data to Tableau, be aware that although it can handle a large amount of data, it has a limit of how much data it can connect at once. If you see an error or notice a significant decrease in performance and load time, it usually means that you have too much data in your source and the connection will experience timeouts due to the size.
You can see how much data is in the source by clicking on Data Preview (three dots next to the source under Sources) and the total number of records is shown in the top left.
Solution:
- Limit the amount of data: especially if the data volume is larger due to incorrect snapshotting settings.
- Or connect the data to a data warehouse or Google Sheets first and then to Tableau.
Troubleshooting
Cannot Use Tableau Bridge
According to Tableau's official documentation, only Web Data Connectors with a standard username and password authorization are supported for the automatic sync via Tableau Bridge. This, however, does not comply with our extensive security policy (using OAuth mechanism). Therefore, you have to use one of the following workarounds to archive data refresh:
- Use the Tableau Desktop Refresh From Source command, or run a manual refresh from Tableau Desktop.
- Use an intermediate data storage so that Tableau Bridge directly connects to (e.g. Google Sheets, BigQuery, or MySQL).
- Use Tableau Server and whitelist Dataddo WDC.
Tableau Server Error When Refreshing Web Data Connector
You might be experiencing the error "Unknown Failure (status Code = 11000 Web data connector is not whitelisted)" when refreshing Web Data Connector via Tableau Web Server.
To address this issue, please add Dataddo WDC to your safe list and secondary safe list.
- To add a connector to the safe list and secondary safe list, use the tsm data-access web-data-connectors add command, providing the name, safe list URL, and secondary safe list URLs.
- You can also manage WDCs using the web-data-connector-settings Entity.
After running this command, you need to apply your pending changes using the tsm pending-changes apply command. A prompt will warn you that the command will restart the Tableau Server. If Tableau Server is currently running it will be restarted, and if it is stopped it will be left in a stopped state with no restart.
tsm data-access web-data-connectors add --name ""DATADDO WDC"" --url https://app.dataddo.com/utils/tableau/ --secondary https://app.dataddo.com/(.\*)
Find more details on Tableau's official documentation.