YouTube is a video-sharing platform where users can upload, share, and view videos. It has become one of the largest and most popular video platforms globally, hosting a wide variety of content ranging from educational videos and entertainment to user-generated content and professionally produced media.
Refer to Google's official documentation to see all available endpoints from the YouTube Video API.
Authorize Connection to YouTube
To authorize this service, use OAuth 2.0 to share specific data with Dataddo while keeping usernames, passwords, and other information private.
- On the Authorizers page, click on Authorize New Service and select your service.
- Follow the on-screen prompts to grant Dataddo the necessary permissions to access and retrieve your data.
- [Optional] Once your authorizer is created, click on it to change the label for easier identification.
Ensure that the account you're granting access to holds at least admin-level permissions. If necessary, assign a team member with the required permissions with the authorizer role to authenticate the service for you.
To revoke Dataddo's access to your Youtube account, go to the Google security settings page or delete the newly created authorizer. For more information, see our article on authorizers.
How to Create a YouTube Video Data Source
- On the Sources page, click on the Create Source button and select the connector from the list.
- From the drop-down menu, choose your authorizer.Didn't find your authorizer?
Click on Add new Account at the bottom of the drop-down and follow the on-screen prompts. You can also go to the Authorizers tab and click on Add New Service.
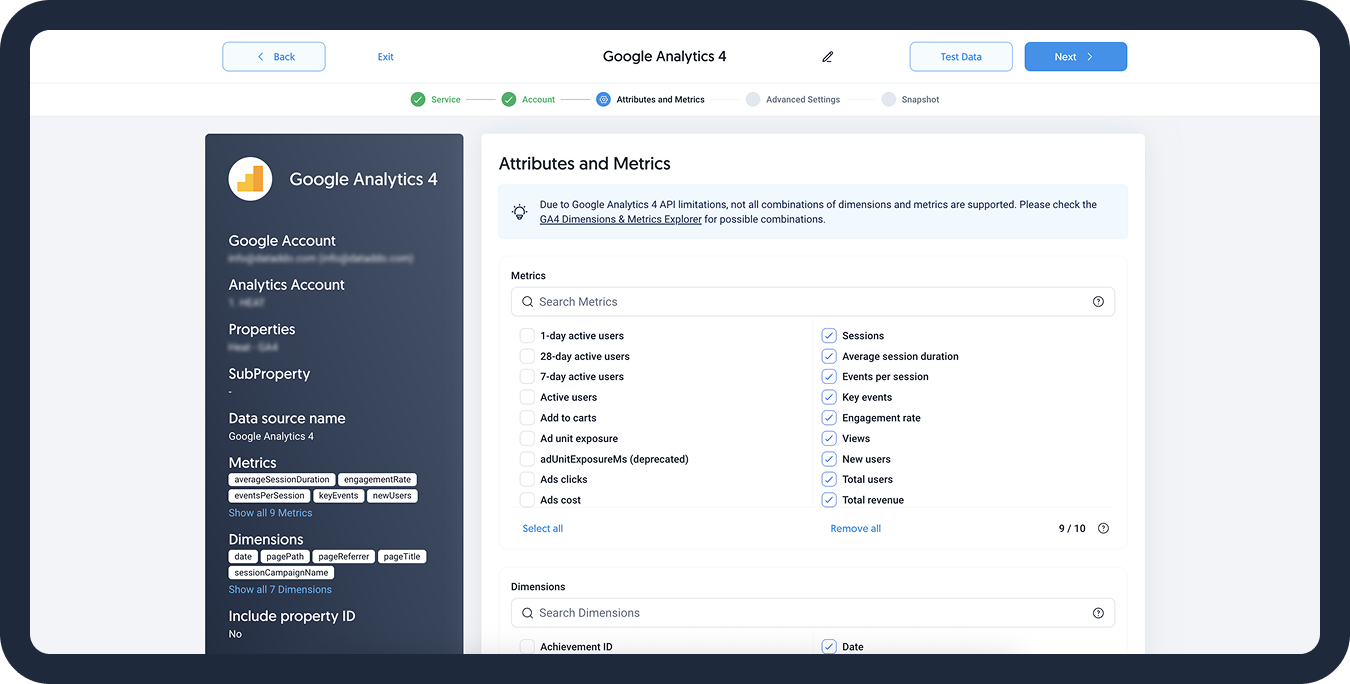
- Name your data source and select your metrics and attributes.

- [Optional] Configure your advanced settings. If you are unsure about how to proceed, we recommend skipping this step.
- Configure your sync frequency or set the exact synchronization time under Show advanced settings.DATADDO TIP
If you need to load historical data, refer to the Data Backfilling article.
- Preview your data by clicking on the Test Data button in the top right corner. You can adjust the date range for a more specific time frame.
- Click on Save and congratulations, your new data source is ready!
Troubleshooting
Data Preview Unavailable
No data preview when you click on Test Data might be caused by an issue with your source configuration. The most common causes are:
- Date range: Try a smaller date range. You can load the rest of your data afterward using manual data load.
- Insufficient permissions: Please make sure your authorized account has at least admin-level permissions.
- Invalid metrics, attributes, or breakdowns: You may not have any data for the selected metrics, attributes, or breakdowns.
- Incompatible combination of metrics, attributes, or breakdowns: Your selected combination cannot be queried together. Please refer to the service's documentation to view a full list of metrics that can be included in the same data source.
Related Articles
Now that you have successfully created a data source, see how you can connect your data to a dashboarding app or a data storage.
Sending Data to Dashboarding Apps
Sending Data to Data Storages
Other Resources